PowerDVD Screen Capture
Here is a quick and easy way to capture a video scene as an image.
PowerDVD gives you more control over your DVD screen captures than ever! Now you can change the size of the captured image from within PowerDVD without the need for an image editing software. You can control the image size, giving you captures anywhere from a tiny "thumbnail" up to full-screen or any size in between. This very special feature is unique to PowerDVD, and is not available on any other software DVD decoder.
You can can capture an image(s) from a movie and save it to file, your desktop (as a wallpaper), or to the clipboard. This is a cool way to collect images from your favorite movies, and PowerDVD gives you multiple ways to handle them. Perhaps you want a new desktop wallpaper, a new screen saver, or maybe you even want to build a collection of pictures from your favorite films. Whatever you choose to do, the screen capture feature is a fun, and interesting tool to use.
Configuration Button

Step 1
Open your PowerDVD program and press the play button to start the movie.
Step 2
Locate the Configuration button (shown above) on your User Interface (or press "Ctrl-C").
Step 3
After clicking on the Configuration button a menu will open up. Click on the "Advanced..." button near the bottom of the menu
Configuration

Step 4
Click on the Capture tab in the Advanced Options menu.
You will be presented with several options for capturing an image ''BMP, JPG, GIF, PNG and TIFF'' (see image below).
For the first example we will choose to capture the image and save it to a folder.
To do this, you need to choose "Capture as File", ''Standard folder is C:\Documents and Settings\Administrator\My documents\CyberLink\PowerDVD8\Snapshot''
by clicking on the Browse button you can choose your own folder.
Capture aspect ratio
Here you can choose between three options.
1. Original video source size (Recommended)
2. Current video window size
3. Custom size
Once you have set your Capture aspect ratio and selected the appropriate folder in which to save the image(s).
You can click OK and exit the configuration menu
Advanced Options

Step 5
Now you are ready to start to capture your image(s). With the DVD title playing, go to the scene(s) you wish to capture. Once you have found the right scene(s) you will need to locate the Capture frame button on your User Interface (see image below). Click on this button at the moment you wish to capture the image.
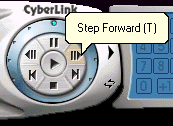
TIP: You may first want to pause the movie you are playing and use the "Step Forward" feature to make sure that you capture precisely the scene that you want.
Capture Buton

Step Forward
Step 6
The image(s) that you have captured will be automatically saved in the folder that you selected in the Configuration menu. You can see (below and left) that we selected four images from a DVD, and they were saved in .BMP format in the folder we requested. These files are named Pdvd_000.bmp, and pdvd_001.bmp, etc. The "Pdvd" code stands for "PowerDVD" and the numbers indicate the sequence in which images were captured. From here you can open these files in any photo imaging software program, and adjust them as you like.
Step 7
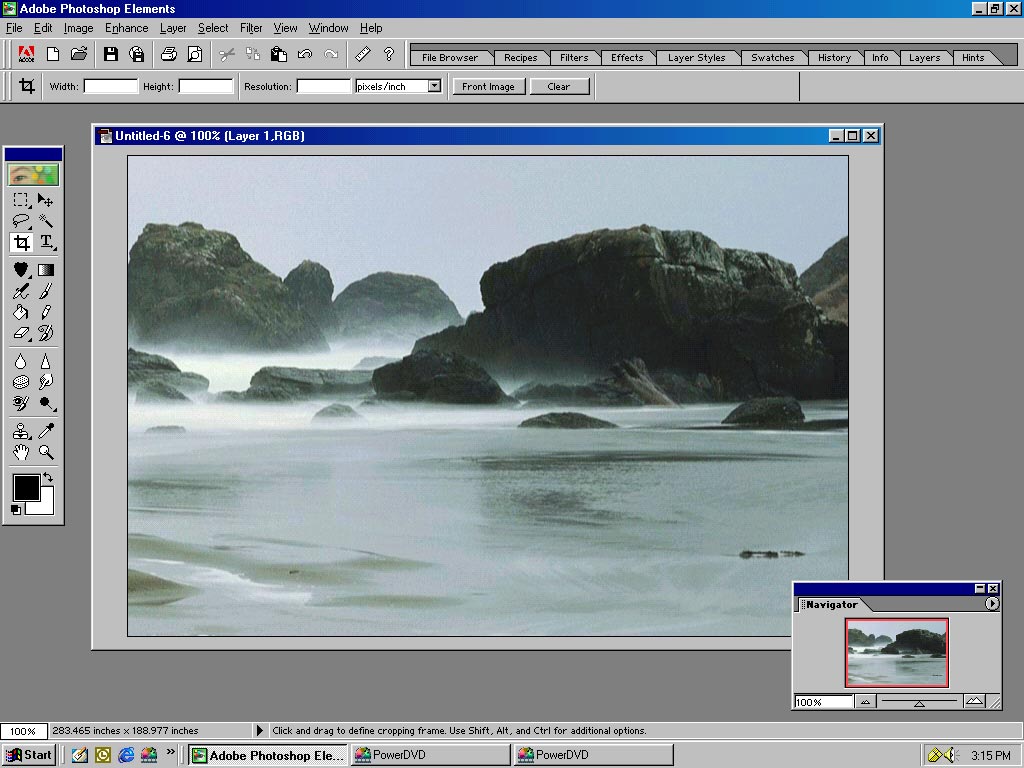
Another option for capturing images is to "Capture to Clipboard" (this needs to be selected in the Configuration menu, Step 3). This feature allows you to capture an image, and then paste it into any photo imaging software program (similar to the Print Screen function on a standard PC keyboard). For this example, we captured an image from a DVD and pasted it in Adobe Photoshop Elements (see pics below). You can use your favorite image editing software to adjust the captured image, and then save it in your desired format.
Screen Capture Folder

Capture from Clipboard and Paste into Image Editing Software
Step 8
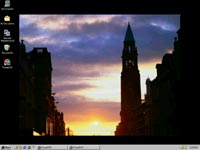
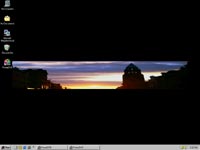
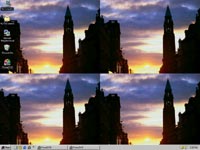
For our last example we will show you how you can place a movie image on your desktop, which can make for an interesting wallpaper. Once again you will need to select the appropriate function in the Configuration menu. Select "Capture to Wallpaper", and whether you want the image tiled or centered. Click OK, and then the locate the Capture frame button on the User Interface. At the appropriate moment, click on this button and the image will be pasted on your desktop. See the image below. This can be done a multiple of time, but just remember, every time you capture an image to the desktop it replaces the previous image. If you want to build a collection, remember to save the files you want.
Capture to Wallpaper (Original Size)
Capture to Wallpaper (Adjusted Size)
Capture to Wallpaper (Tiled)
Edited by Di-Patrick, 09 October 2008 - 06:21 PM.


